
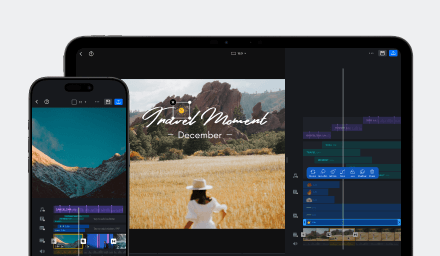



Guess how quickly I created this viral video with CawCut and VN?
Twenty minutes? Fifteen? Ten is all you need to turn a simple clip into a finished special effect video, without a complicated workflow or an expensive production setup. Not to mention The entire video cost less than a cup of coffee.
- One-tap AI video creation: Upload one short clip, choose the direction, and let CawCut generate the video for you.
- Low cost: Use CawCut credits to test more ideas without paying a premium for every experiment. Depending on the model and settings, a generation can cost less than a drink.
- All the platforms you use: Create on mobile, make quick changes in VN mobile app, or switch to PC or Mac when you want a larger screen and more precise control.
1. The effect starts with one simple gesture
Choose the music first, then record one short, steady clip while it is playing. Film these actions on the beat:
- Start with your hands apart and leave space between them for the portal.
- Pull your hands as if opening a glowing window.
- Hold the final pose briefly so the reveal has time to appear.
Keep the camera still and the framing consistent. Use the same gesture timing as the reference video.
VN is available on iOS, Android, Windows, and Mac, so you can create the effect wherever you like to edit. That means you can capture and finish a quick idea on your phone, or move to PC or Mac for more detailed work. Download links are avaialble here for all platforms: Download
2. Choose your starting point
Start with a short video of yourself or your subject making a clear, deliberate gesture. Framing matters more than perfection: leave enough space between the hands for the reveal. A simple clip is enough to begin, so you can test the idea quickly before spending more credits on a polished version.
2.1 Recreate the Effect
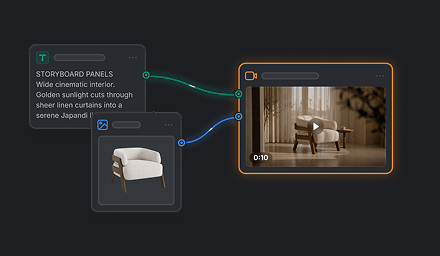
Want the same look? Upload your video and use our ready-made CawCut App.
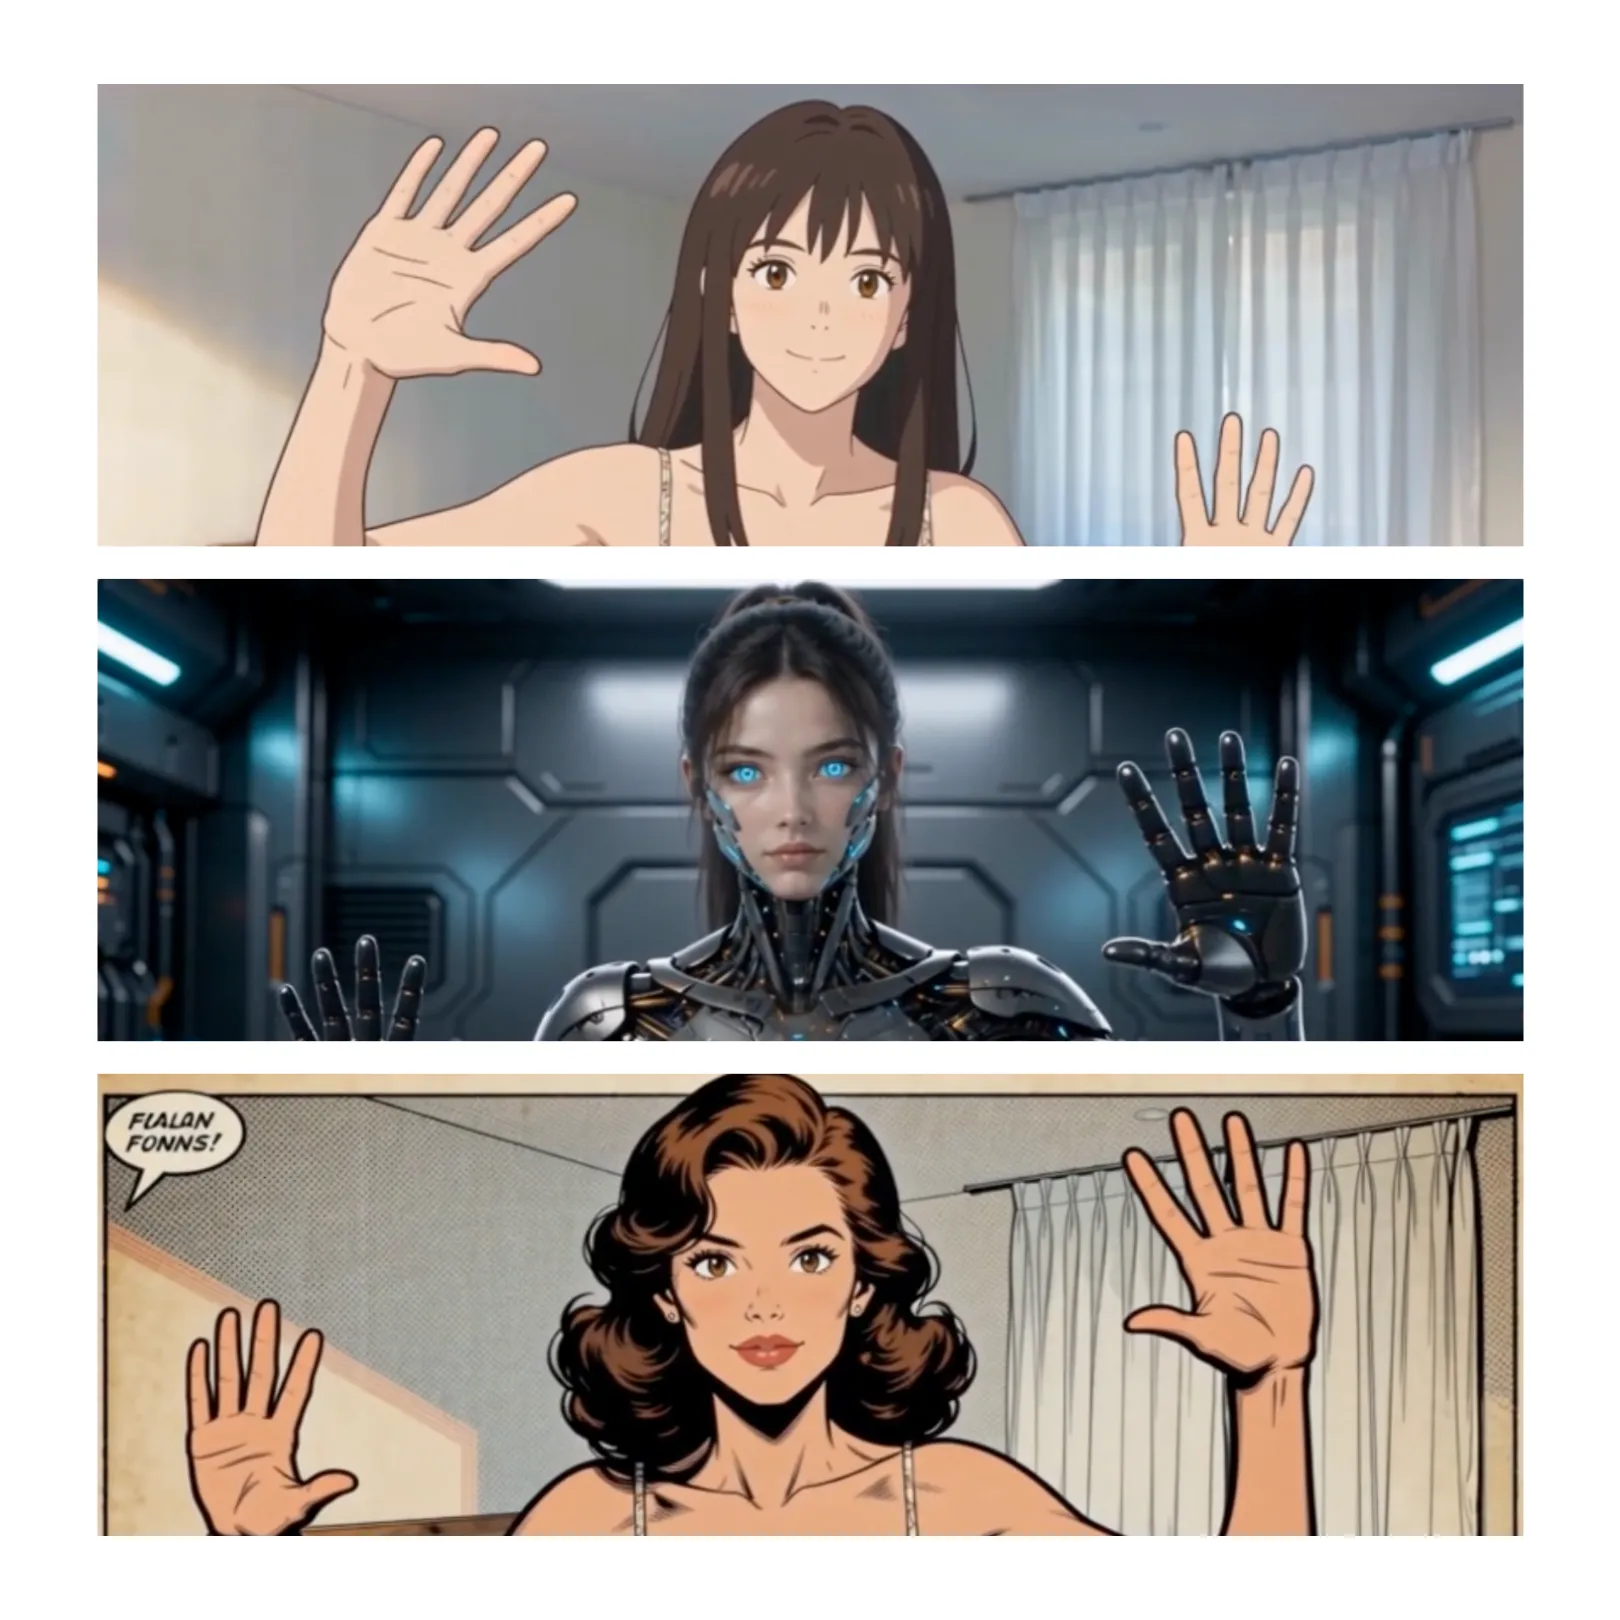
- Animated Character: a bold illustrated look with a soft color palette and a clear animated identity.
- Futuristic Android: metallic details, glowing accents, and a sci-fi atmosphere.
- Retro Comic: thick black outlines, bold colors, and a retro comic-inspired character design.
For how to use CawCut app, see Use an App.
2.2 Make It Your Own
Want something different? Edit the existing Workflow to change the style, or start a new Workflow with your own idea. Learn more about Workflow and Nodes.
Need inspiration? Explore 12 ready-made AI styles for inspiration.
3. Recreate the Effect in Three Simple Moves
In VN, simply Align, Mask, and follow.
3.1 Place and align the two videos
Ensure [Sub-Track Extension] is enabled in [Editor Preferences] before importing the clip. More information is avaialble at Sub-Track Extension. Then add your original video to the main track, then place the AI-style video above it and align the two clips.
Tip: If the AI-style video doesn’t line up perfectly, trim or adjust it before creating the mask. Use Split to isolate the misaligned section and Speed Ramp as well as Trim Tool to adjust it.
3.2 Mask the AI version
Select the generated video and choose the custom mask tool. Select [Custom] in the [Mask] menu, put all points in the custom mask in the same location based on the video. You can tap on one of the anchor, then use the [Position] sliders to move it, and use the top anchor switcher to switch to a different anchor and move it to position.
Instruction about Custom Mask is available in: Custom Mask.
3.3 Make it follow the hands
First, set a keyframe to lock the first position for the mask. Then, move the timeline till the hand starts moving, change the anchor to follow the hand gestures. Keyframe will automatically be placed. More about keyframe can be learned here: Keyframe Editing.
Repeat this when the movement changes, fine tune it to be as percise as possible to make the effect more natural.
Video instruction is avaialble in this YouTube video:
If you are using VN on Windows or macOS, check out this video tutorial:
That is it: two videos, one mask, and a few keyframes. Your hand now looks like it is pulling a new reality into the frame—and the whole effect is practical to build in a short session.
4. A Few Things to Keep in Mind
To get a result closer to the reference, keep these details in mind:
- Match the timing. Keep the music, style switches, and mask movements aligned with the reference.
- Fine-tune the mask. If the mask drifts away from the fingers, adjust the nearest keyframe instead of adding unnecessary movements.
- Check the layer order. When creating the final reverse reveal, make sure the original and AI-style videos are on the correct tracks.
- Add effects last. Finish the mask and timing first, then add RGB, Glitch, or other effects.
Finish the effect
Open FX > Basic Effects, then add these effects at the following points in the timeline:
- At the start of the video, add RGB > RGB 01 and set its duration to 0.2s.
- At 10.23s, add Glitch > Noise 01 and set its duration to 0.93s.
More about video effects can be learned in Video Effects.
Create the reverse portal look
From 10.23s to 12.77s, use Split on both the real footage and the generated video, then create the reverse portal look. Use the track switch button to put the generated video on the main track, where it fills the screen as the Android version. Then use the same track switch button to put the real video on the overlay track, so the real footage appears inside the portal while it is being pulled open.
This track arrangement creates the reverse look from the first video: the Android version becomes the full-screen background, while the real footage is revealed through the moving portal.
5. Take It Further
Once you’ve learned the basics of VN and CawCut, you can customize the music, style, and more to make the video truly your own.
- Add more points so each finger reveals a different reality.
- Tilt your hand and twist the lines to create a more dynamic effect.
- Experiment with different movements, shapes, and transitions.
- And more...
Customize the workflow or create your own to bring your ideas to life. Your imagination is the only limit!